Just wonder what immense pleasure it would be if you could play that favorite racing game of yours’ on your desktop instead of a 5 inch smart phone; sounds lucrative doesn’t it? Yes this is entirely possible and the answer to this is Android Emulation. So here is your complete guide to understanding an emulator app, installing it and using it to make your android experience all the more intuitive. An Android Emulator allows you to run android apps on computer or laptop.
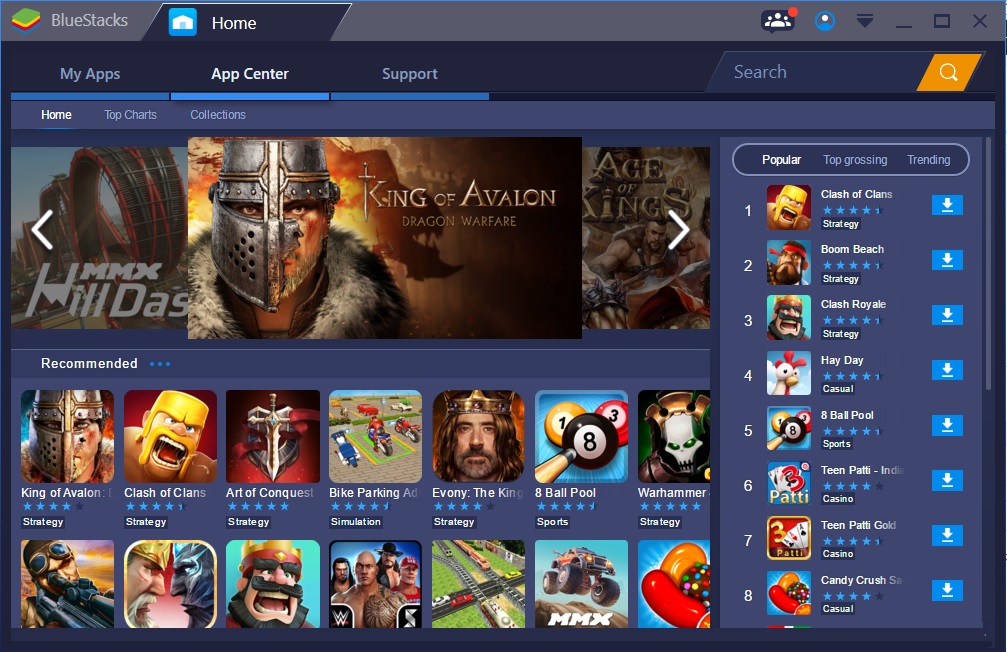
A profound name, when it comes to android emulating apps, is “BlueStacks”. BlueStacks App player is a very innovative application that bridges the gap between mobile and desktop by allowing users to run their favourite Android apps on their Windows/ mac desktops.
The users need to sign in with their Google account so as to access the play store, and can synchronize all their app data as and where supported.
BlueStacks is a free to download and use application. It comes with a premium subscription that removes advertisements and provides some additional features. The authentic BlueStacks software is available to download at the following link:
[button color=”custom” link=”http://www.bluestacks.com/” align=”center” textcolor=”#ffffff” bgcolor=”#81d742″ icon=”momizat-icon-mobile”]Download Bluestacks[/button]
Type of software: Android emulator
Compatible Operating system: Windows, Mac
Below is the step by step installation guide for BlueStacks:
1. BlueStacks can be downloaded for free from the above mentioned link and the installer file size is 260 MB. There are no hardships as such in installing the software, just the plain download and install routine.
2.Once you’ve installed BlueStacks, the next step is adding your Google account. In case you have an existing account, which you should, please use the same credentials and sign in.
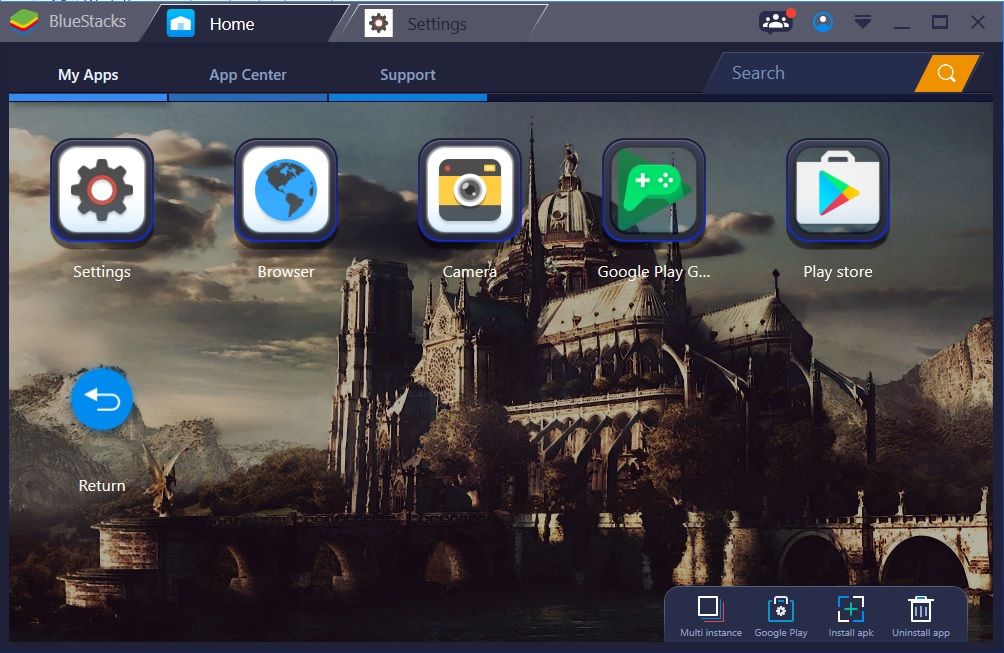
3. Once signed in, you will get a home screen just like an Android device or smart phone; with all the apps will be categorized under different categories such as top apps, social media and many more.
Talking about the controls portion, the cursor of the mouse functions just like our fingers for the touch screen
The other touch options can be used as keyboard shortcuts or are available in the controller sidebar. The notifications pop and show up in the upper right corner, and there is a settings button which is right next to it lets you access device settings.
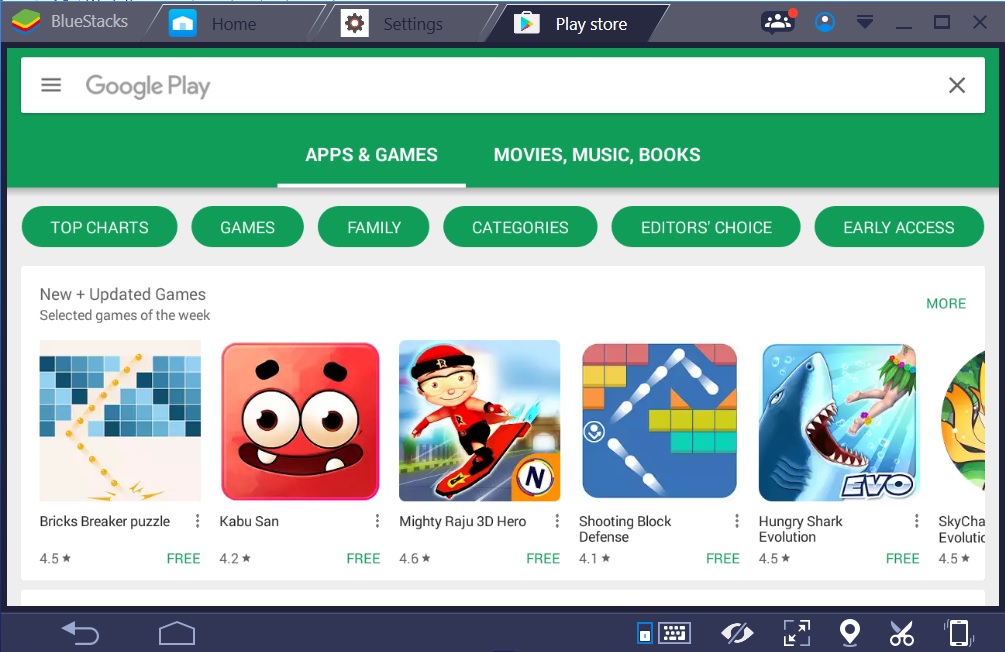
The former versions of BlueStacks wouldn’t let you access app stores directly, but that has changed with the latest version, and the Google Play Store is available right into the package.
You can then search for apps and install them just like on your smart phones and you can also access your account to quickly go through the list of apps you want to move to BlueStacks.
In addition to the above BlueStacks also includes built-in streaming using the BlueStacks TV control pane. Users can view recommended streams, or even stream their own games right from within BlueStacks.
Everything seems to be picture perfect, yet as we know perfection is a difficult thing to achieve, the BlueStacks comes with certain limitations. For instance, if you have a non-touchscreen laptop/PC, then the multi-touch gestures will not be available for you.
In addition, there are certain Android apps that do not run as expected.
So that is all about the BlueStacks App player. In a nutshell it is a very addictive app, in a good sense of course, enhancing the capabilities of the Android applications.
So what’s stopping you; download BlueStacks and play all those exiting games on the big screen. Fun and gaming amplified!!


