Table of Contents
When you have email on your smartphone, it is very easy to stay connected while you are on the go. You can check your emails whenever you want, saving you time, and you can read and respond to important emails as soon as they arrive in your inbox, which is very convenient. It is also very simple to install or configure email on an android smartphone!
This guide will teach you “How to Configure Email”:
- How to create an email account if you don’t already have one (Gmail, Outlook, etc.) and obtain login information
- How to Discover and Launch the Android Email App
- How to connect your email account to the Android email app using your sign-in information
- How to Begin Using Your Email Account on Your Phone
- A quick rundown of some of the most popular third-party email apps.
Step 1: Confirm that you have an email account.
First, you’ll need the login information for your email account. Your email address, e.g., yourname@gmail.com, as well as your password, will be required. If you do not already have an email account, you will need to create one. Go to the website of the email service provider you want to use. Some of the most well-known websites are www.gmail.com, www.outlook.com, and www.yahoo.co.uk. Follow the site’s instructions and make a note of your password. We recommend that you include letters, numbers, and symbols in your password to make it difficult to guess.
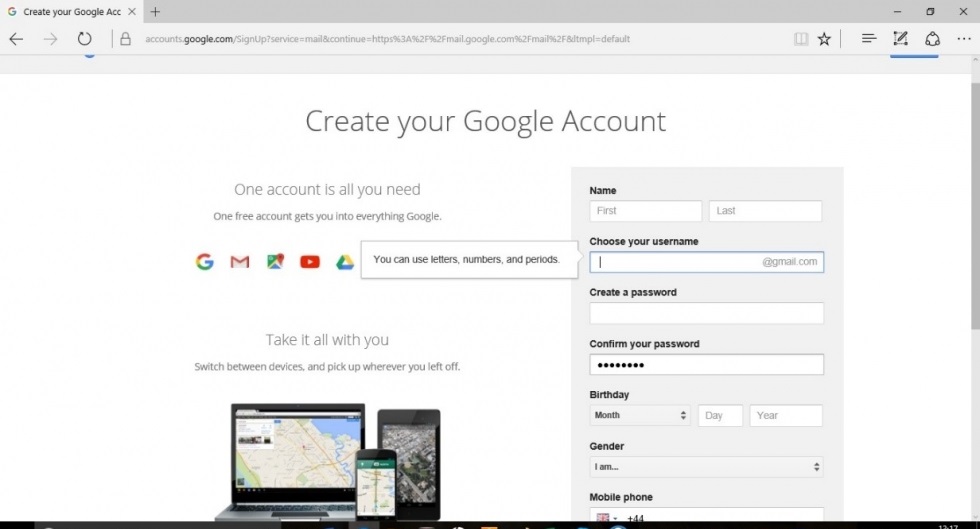
If you already have an email account but have forgotten your password, log out and click on the ‘Forgot Password?’ link. You will be prompted to create a new password as a result of this. Make a note of it before proceeding to install email on your Android device.
Step 2: Launch and configure the Android email app
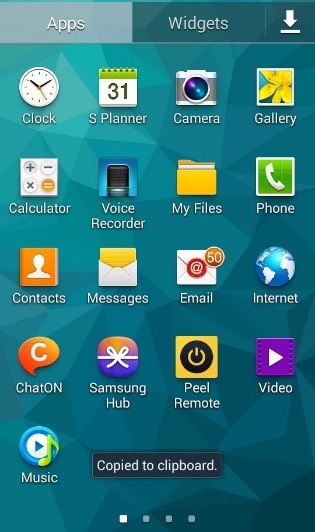
Go to your phone’s app list and tap on the ‘Email‘ icon.
Select ‘Add Account.’
Step 3: Create your account
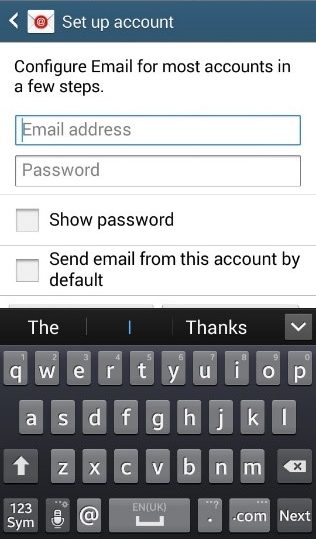
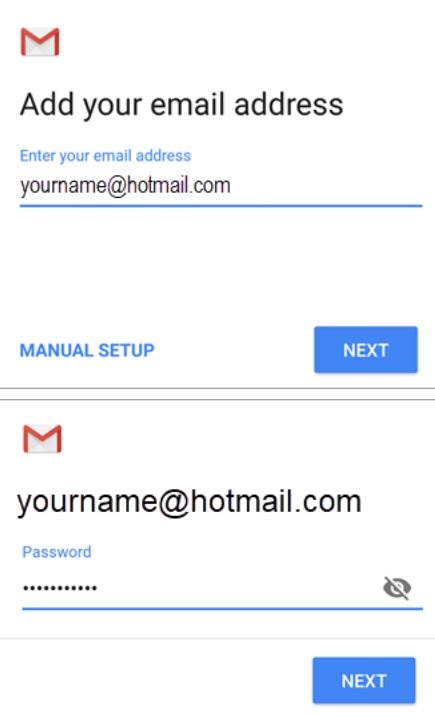
Set up an account show you Configure Email for most accounts in few steps. below this enter your email address and password, then press the ‘Next‘ button.
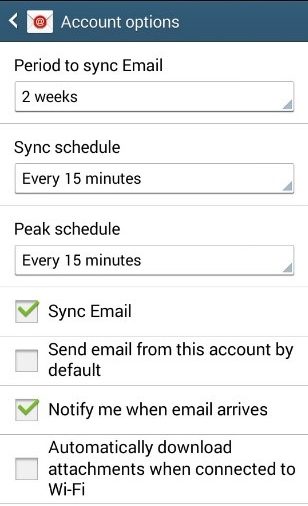
Step 4: Syncing your email
Configure email account in the manner that suits you. You can specify how frequently your mail will be synchronized, whether this will be your default email account, and whether attachments will be downloaded automatically. Keep in mind that the more frequently your phone checks for mail, the more your battery drains, so you may prefer to set synchronization to occur infrequently and manually synchronize when you want to check your mail. You can also choose whether or not you want to be notified when new mail arrives. When you’re satisfied with your settings, click ‘Next.’
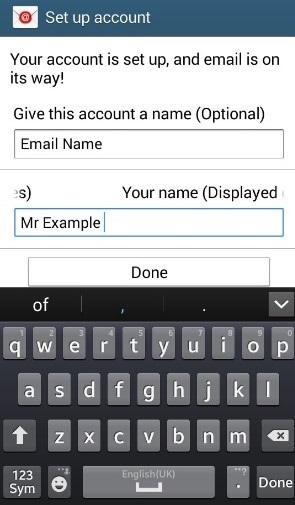
Your account has now been created. If you want, you can now give this email account a name and specify the name that will appear alongside any outgoing messages.
Step 5: Modify the settings
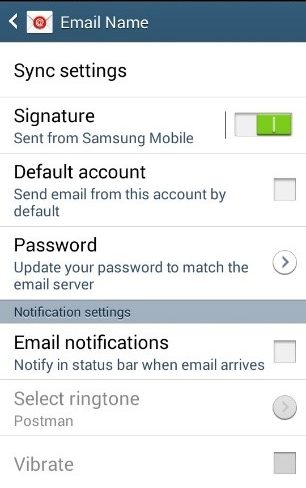
To change your email account’s settings, open the email and tap the button on the bottom left of your phone. Tap ‘Settings‘ to set up a signature, change your default account, change your password, and change notifications.
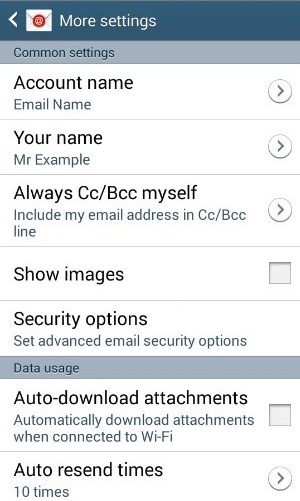
Change the account name, send yourself copies of emails, enable images in received emails, automatically download images, set the number of times your phone will attempt to send a mail, and change the server settings by tapping on ‘More settings.’
You may prefer to use a custom email app rather than the default email app on your smartphone. Microsoft Outlook, Gmail, myMail, and Boxer are among the most popular, and they are all free to download and use.
Step 6: Third-party email applications
The Outlook app works with a variety of email providers rather than just Microsoft, and it includes a lot of Cloud storage as well as an integrated calendar.
Gmail’s app is free as well, but it only works with Gmail. However, if you have a Gmail account, you will find it extremely useful due to its excellent search feature, simple interface, and ability to insert Google Drive documents.
MyMail has a very simple interface that uses images to represent your contacts so you can see who has emailed you at a glance. It is compatible with all major providers and displays picture attachments as thumbnails at the top of your emails to give you a preview of attachments.
Boxer is one of the most feature-rich apps, making it ideal for frequent emailers! It supports all of the major email providers and includes a number of powerful features such as the ability to attach files from Box or Dropbox, swiping for a variety of tasks such as archiving, deleting, or marking, a ‘like’ function to send a read receipt, customizable signatures, and Evernote integration.
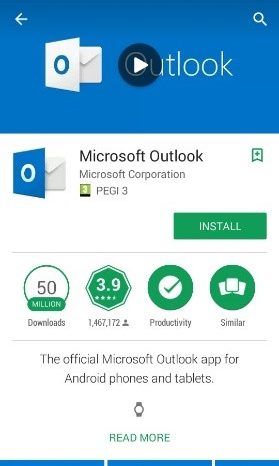
Email can now be installed on your Android smartphone. You can use the email app that came with your phone, or you can install a specific email app for even more functionality.
Step 7: Install Outlook for Android.
If this is your first time using Outlook for Android, tap Get Started.
Alternatively, go to Settings > Add Account > Add Email Account.
If you have 2-step verification enabled, authenticate yourself using the method you selected (6-digit code, phone, or the Microsoft Authenticator app).
Enter your complete email address, then press the Continue button.
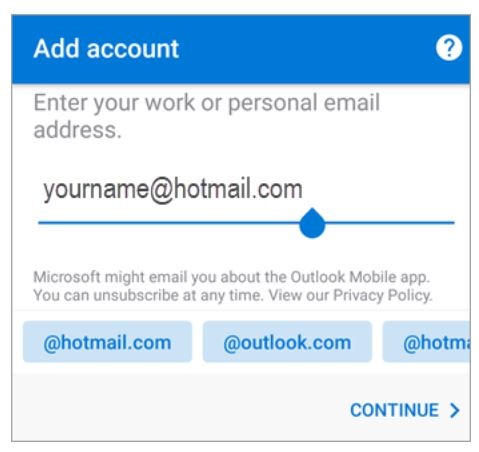
Outlook may ask for permission to access your calendar, contacts, and so on. Select Yes or Allow.
You can now use Outlook for Android!
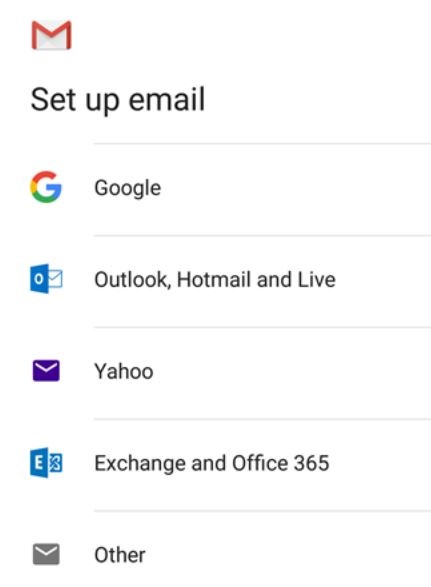
Step 8: To Configure Email or you can say Gmail in the Android email app
After downloading the Gmail app from the Google Play store, you can log in with your full email address and password.
After you’ve mastered emailing from your phone, you might want to look into other ways to stay in touch with your friends and family. You could use WhatsApp to send messages, group messages, photos, and other content. You can also learn about video messaging and how to use FaceTime to stay in touch. Also, there are many ways to create an Email list without having any Website.
We hope you enjoyed this guide on how to install email on your Android device; for more Android and email guides, see our Next Steps links below.


